Wednesday, June 1, 2016

Layered stamping and masking tutorial

The other day I made a card using the above mentioned technique. I make masks of most if my stamps using masking sheets by Tim Holtz. I stamp on them with stazon ink and let it dry. Once completely dry, I cut out the image. I always keep the masks with my stamps. That way I have easy access.


I started out with a piece of white card that I inked up using the wrinkle free distress technique. My absolute favourite distress ink technique. 

I stamped the eye
in the middle of my card and am going to cover it with mask.

Here you see it stuck on top of the stamped image.

The hand is stamped over the mask. The image underneath is protected by it, so still visible after the mask is removed.

Another mask is stuck on the images to protect both stamped images.
Now I can add more layers. In this case gold embossing paste.

Here you see I covered nearly everything with the paste...

As you can see, after I removed the masks, the images underneath are still visible and pop like they are on the foreground. 

After adding some embellishments, a sentiment and glossy accents to it...it is a finished card topper.

I hope it explained the masking and layered stamping enough so you can give it a try yourself!

Thank you for stepping by and I hope to see you here again.

Until next time,
Take care.

Freddie xxx


Friday, May 27, 2016

30 day challenge part deux...

Oh boy, this challenge proves to be much much harder than I thought. I could have kept it up in winter, but in spring when everything is happening in the garden, it is close to impossible to do!! I did sneak in a little practice on my calligraphy...need lots more!!

But here's three more cards made for the challenge....

More to come as this is only #10, 11 and 12....

Thanks for stepping by :-)
Take care,

Freddie
Xxx

Tuesday, May 17, 2016

Progress of 30 day challenge

I was asked to participate in a 30 projects in 30 days. Well that turned out tougher than I thought. Not only because I don't have time every day to craft, but also because I am working on various other projects.

Anyway... here are my first 9 projects I have done. The only rule is that they have to be 4 x 6 inches. Otherwise...anything goes!

Thank you for stepping by and hopefully until next time.
Take care.

Freddie
Xxx

Thursday, May 12, 2016

12 tags of 2016 May

So far so good... with this tag finished I made 5 out of 5 tags. 


I'll show you step by step how I made it. 

I started out with a manila tag and stuck on some washi tape.

I stamped some images over the washi tape and tag with stazon.

I put some embossing paste through a stencil on the tag with a palet knife.

I love the look, I really must use it more!

This is what it looks like after it has been inked up and stained. I used various distress inks and water to give it some colour. And I inked the edges after I took this pic..

I gave some areas a spritz with my copper perfect pearl mist to give it a shimmer.

I cut some flowers with my tattered flower garland die from sheet music, Some walnut stain ink on the edges and some stamen and my flowers are done. I made the little label by cutting it from plain white card stock and I coloured the edge with a sharpie and inked it all up wih old paper distress ink. I stamped the image on the label and stapled it on the tag with the tiny attacher.

The lace is stained with distress stain and I used a vintage brad from Emerald Creek Crafts and glued it to the tag. Along with some more sheet music paper flowers.

I wound some twine around this arrow and thought it needed something extra. So I dipped it in embossing ink and in Ranger Verdigris embossing powder. After melting that it looked a lot better. So it was ready to be glued on the tag too. But befor I did I stamped some faux stitching on the tag as I don't have a sewing machine.

As the finishing touch I stained some crinkle ribbon and tied the ribbon on the top of the tag. And voila.... it is done.

Thank you for stepping by and taking the time to visit my blog.

Until next time, take care.
Freddie
xxx

Tuesday, May 10, 2016

Washi tape background

I have so many stunning washi tapes and I have decided to use them more often!

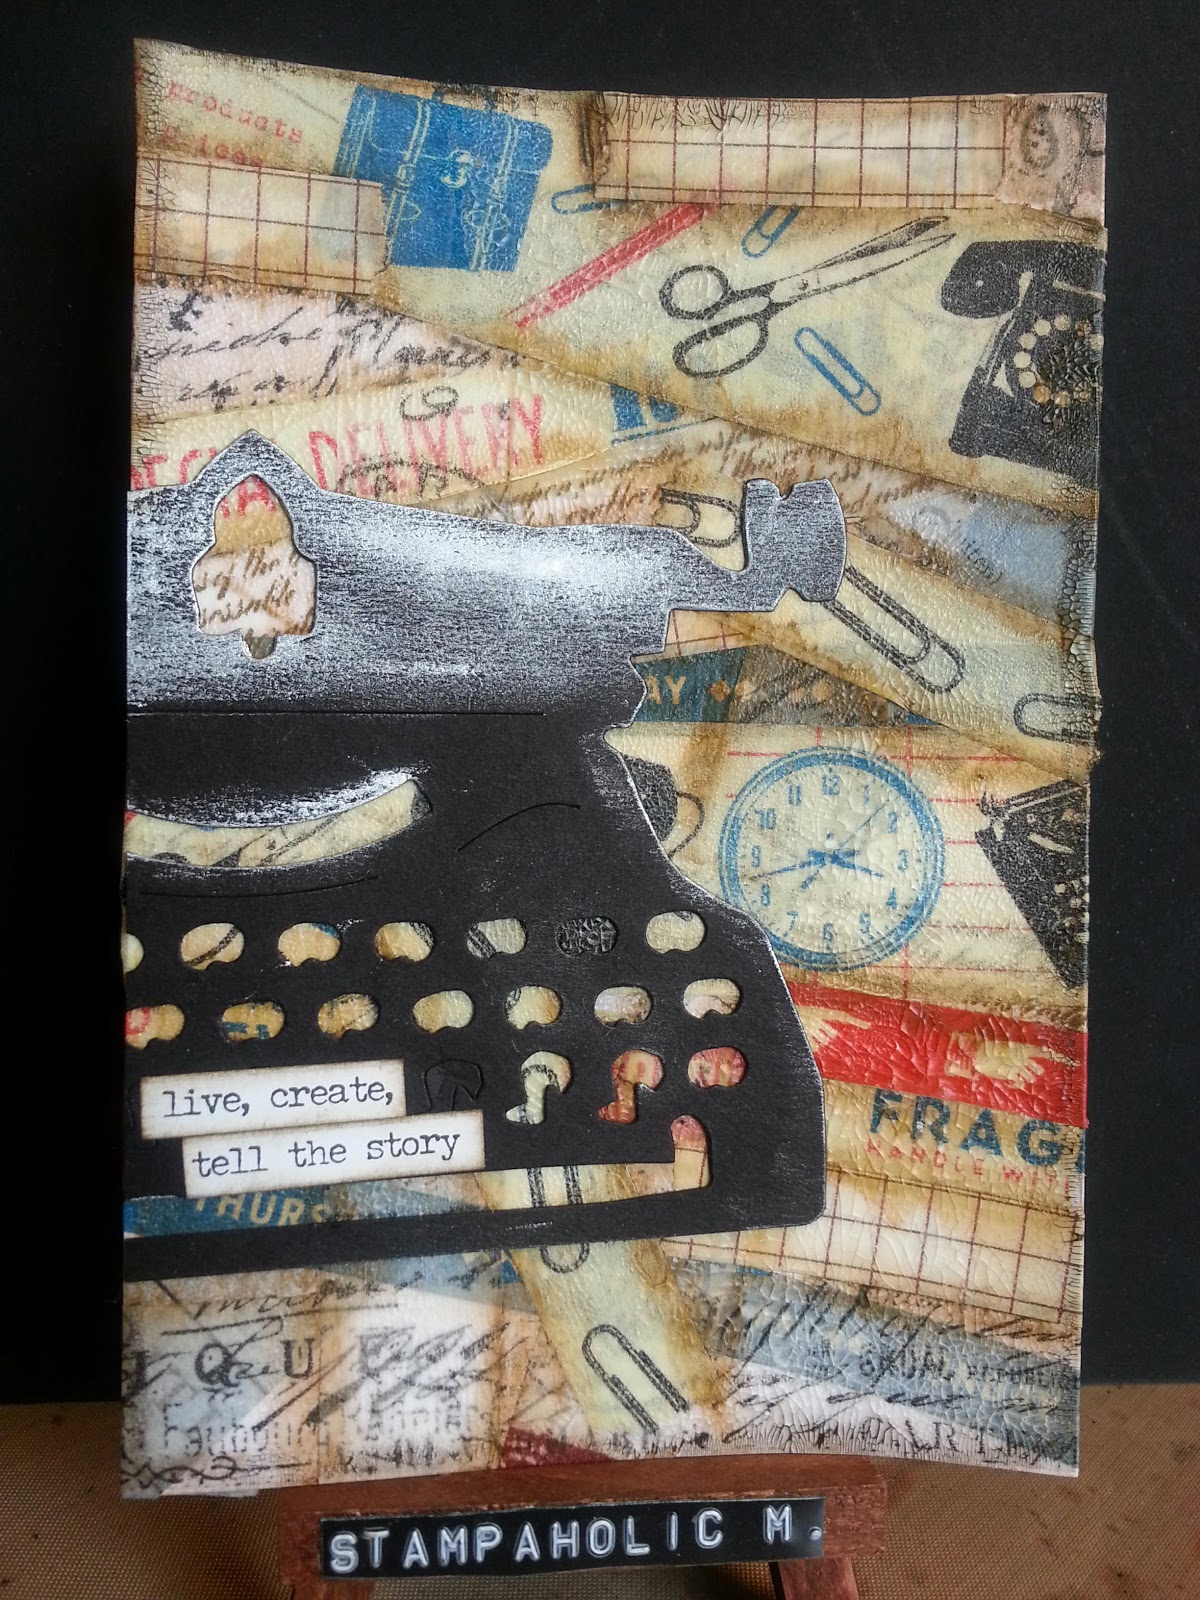
I covered a card topper with vintage washi tape and grunged the edges with distress crayons. Oh how I love that stuff!!
I covered the whole surface with crazing collage medium and let it dry. I used to use distress crackle paint befor this medium came out. I love love love me some crackle/crazing!! After it dried I grunged the edge with more distress crayon.

I cut out the vintage type writer and rubbed some silver gilding wax on parts of it. I glued it on the topper and added the sentiment sticker.

Until next time, take care  :-)

Freddie
Xxx

Vintage Ivy embossing powder by Emerald Creek Crafts

I have posted about the specialty embossing enamels from Emerald Creek Crafts and wanted to show the vintage ivy one "in action".

I already loved this ivy die I have but with this vintage ivy embossing powder it takes it to a new level! 

I will post part two of the powders very soon and also the projects I make with these amazing powders.

They really make my projects come to life. I love them like my other specialty powders like the Frantage range by Stampendous. One has got to love special effects right?

Thank you for taking the time to visit my blog and hopefully until next time.

Take care,

Freddie
Xxx

Monday, May 9, 2016

playing with layered stamps

It is all the rage right now: layered stamping. I only have a few sets at the moment and they take some getting used to, but once you get the hang of it they are a lot of fun. 
My favourite at the moment is the (discontinued) Stippled Blossom set by Stampin Up. I also have the Vintage Flowers by Altenew, they take a bit more practice though.

In this post I want to show the fun thing you can do with the stippled blossom stamp. I love to combine it with heat embossing with gold powder.

I made this card for my mom and used this technique. It makes the roses a bit more interesting.

I always use my MISTI when using these type of stamps, it makes it easier to work with them. I stamped the first layer with a red distress ink.

The advantage of stamping with the MISTI is that when the first print isn't crisp, you can stamp it again in the exact same position. 

this is the second layer, the stippled part, of the stamp.
I stamped this with embossing ink and covered it with gold embossing powder.

 Doesn't look like much now hahaha.

Wait for it.....

Tada!!! They always look different. And work with any colour.

That was my little tutorial for today. 

Hopefully until next tine, take care.

Freddie
xxx

Emerald Creek Embossing powders/enamels.. part one

It is no secret that I have a huge love for embossing powders. Especially the special effect  enamels float my boat. They make crafting so much fun and versatile. Not only can you turn a piece of card I to anything, but also customise embellishments.

My collection of Emerald Creek Crafts is just starting to grow, and I can't wait to get my next batch, as they are unlike anything I have seen on the market. I have the distress powders by Ranger/Tim Holtz, and the Stampendous Frantage powders, but they are not at all like these enamels. I will do a little highlight on those in another post.

I will share here the ones I have got in my stash at the moment, once I get more, I will show you what they look like!

This is the Burnt Copper leaves, one of my favourites!! It is chunky and the pics don't do them justice!!!


Eventhough the enamel is really chunky, you can use them with stamps. It gives a beautiful look. Almost like a gilding flakes effect. 

I dunked my brads in embossing ink and pressed them into the jar...

Here you see the befor and after, I turned a boring grey brad into a vintage one in no time.

This Hammered Metal enamel is out of this world. This will make your faux hardware look like the real deal!! I know I will get through this jar very quickly as I will use it for everything!! 

I used it on a piece of card and stuck that behind this cut out. As you can see it looks like real hammered metal....

I will share more projects I made with these really soon.
I made swatches of my enamels as it is easier to choose the effect and look. Below are more swatches so you get the idea, I haven't used them yet, but I will very soon as my head is full with ideas ;-)

You can't really see it, but this rich blue has tiny glitter in it to make a beautiful sparkle. It really looks like a midnight sky with stars that glisten.

Onyx frost is like the midnight sky a subtle glitter powder. It has the most beautiful sparkle!

Well that is it for this post. I will do the part 2 later this week. So I hope to see you back then.

until next time, take care!

Freddie
xxx

Monday, April 25, 2016

Vintage mail card

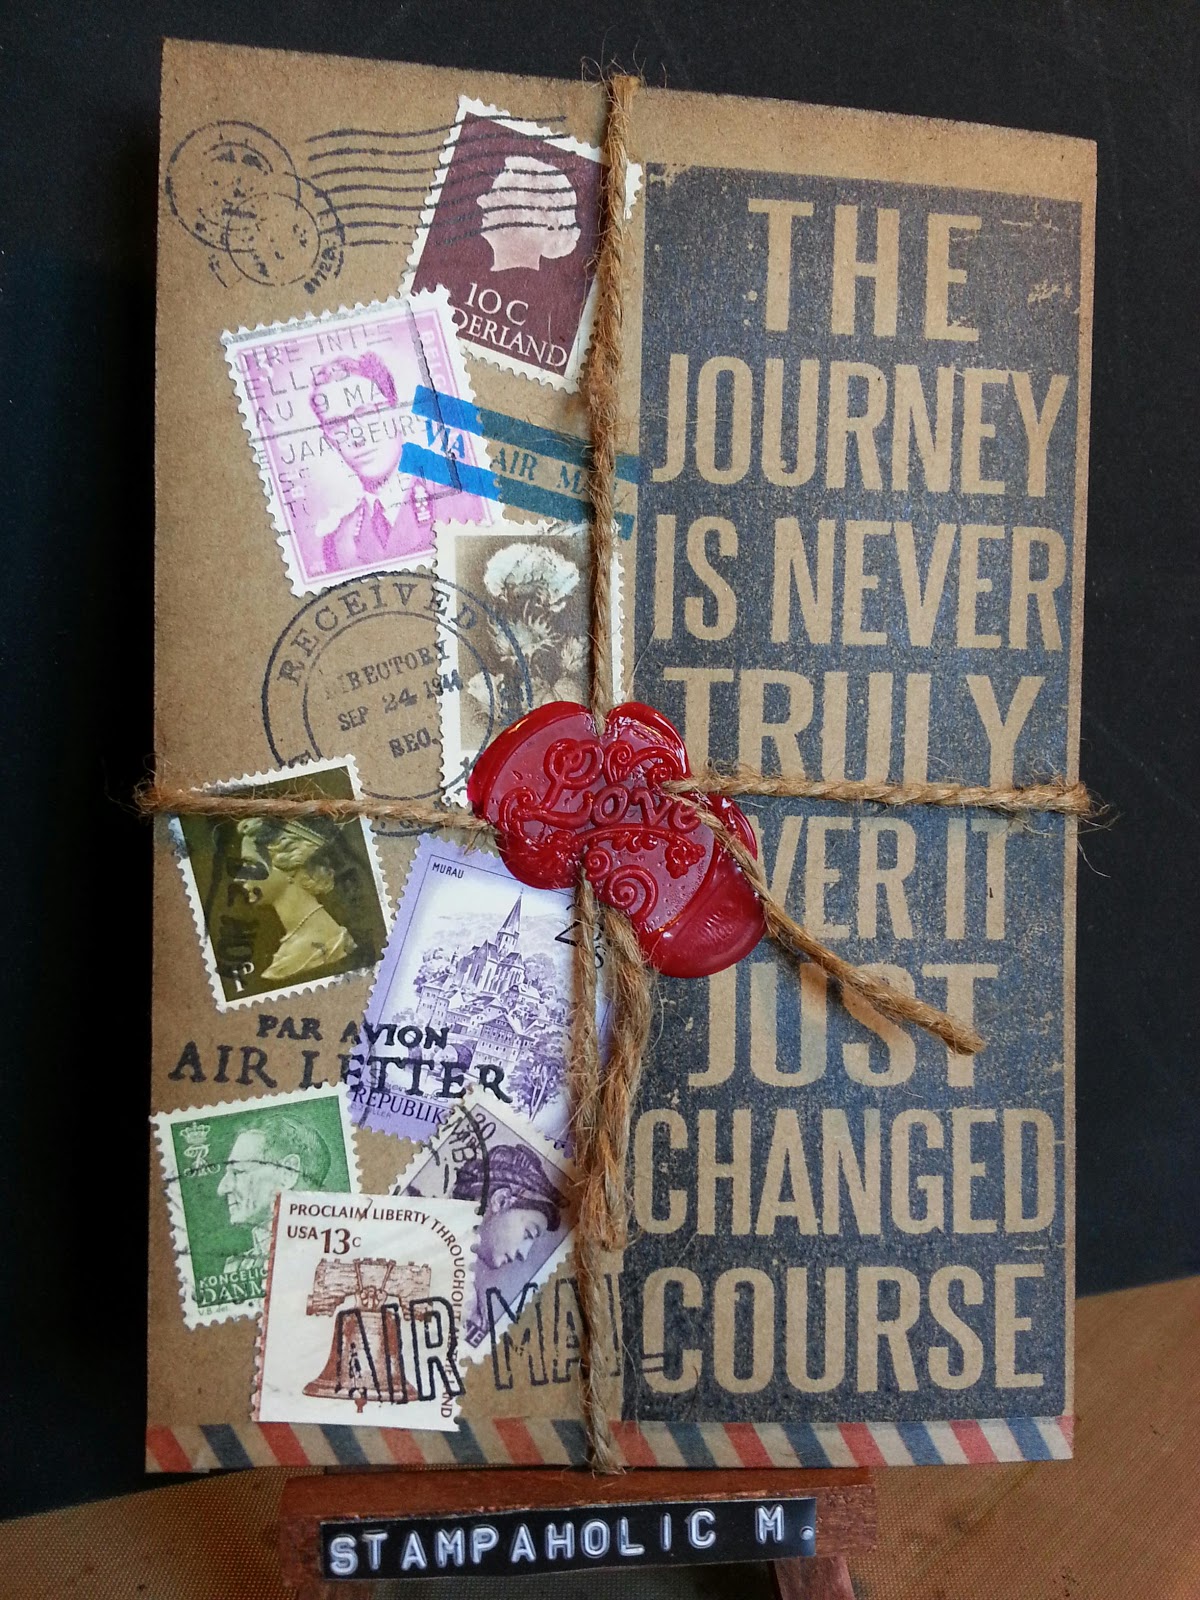
I am totally into vintage mail at the moment. Mini envelopes, postage stamps, postal stamps, you name it... I love it all.
As the weather was dreadful, rain, hail and snow showers were alternating eachother.... I decided it was a perfect day to sneak in a crafty hour.

I cut the coin envelope with my cuttlebug and the TH die, it is so cute!! I aged it all and assembled it and glued it together. I stamped it and made some stickers and stuck on some faux postage stamps.

I die cut the flowers for my background with the TH wild flowers thinlit dies.

I matted some paper on cardstock and a card blank and stuck it all together. As a finishing touch I added some washi tape here and there.

A friend of mine gave me the cutest stamp a while back with an old typewriter and I decided it would be a cute image for a mini card for my coin envelope. I coloured in the typewriter with silver wink of stella and inked the edges.... and my card is done...

Thank you for stopping by and taking time to read my rambling lol.

Have a wonderful day and hopefully until next time :-)

Take care,
Freddie
Xxx

Saturday, April 9, 2016

Lucky clovers

The other day a friend of mine sent me a picture of a page of the cardmaking magazine. It featured Tracy Evans, who made a trifold out of three tags. It had a lucky clover theme. She thought I would like it as it involved tags and she was right!

As the friend in question could use some luck, I decided to make a similar trifold, but with my own spin...

I started out with three manila tags and covered them with Gesso. After they dried I stamped some script on them in brown and some chipped paint effect in a soft mint green. Then I took my Tim Holtz heart stencil and used two greens to stencil the hearts.

I stamped the sentiments and decided to add some dimension and stamped a label and a sentiment on a piece of white card stock. I cut the label out and mounted it on the tag with some dimensional foam.

Then I die cut some hearts and inked them green. I dabbed them with embossing ink and dipped them in shabby hunter green frantage embossing powder. I really like chucky and multy coloured embossing enamels.

After they all.cooled I folded the "petals" in half and mounted them on the tags with my hot glue gun. I added some gems to the hearts to add some interest.

With a black gelli roll pen and a ruler I added some stripes here and there and inked the edges of the tags.

I stained some crinkle ribbon and added fluffy bows to the tags and taped them together with washi tape on the back.

And my trifold card is done!

Thank you for stopping by.
Maybe until next time :-)

Take care,
Freddie
Xxx

Thursday, April 7, 2016

Shutter Mosaic

I have made one new year's resolution, and that is to participate every month in the 12 tags of 2016 Challenge by Tim Holtz. Sofar I have been good and have done three of the four. The fourth I will do very soon. It includes making a mosaic.
As I have never done that befor I wanted to practice first. In a facebook group I am in, we have four or five monthly challenges. One of them this month was to make a socalled shutter card. I decided to combine it with a mosaic..
I will explain how I made the mosaic.
I don't have the Tim Holtz paper mosaic kit, with the grout, glue and glaze, so I improvised. I covered the background with embossing ink and used Ranger antiquities cement embossing powder to create the grout effect.
I then cut snippets of paper and glued them on the background with matte medium. After that dried I covered the "tiles" with glossy accents. I grunged the edges with distress crayons and glued them on the front of the card. I have entered this card in a challenge over at Emerald Creek Craftsas well as a facebook group challenge.

I will explain the shutter card in another post soon.
Thank you for stepping by and I hope you will visit again.
Take care,
Freddie
Xxx