
This is the tag I first did with this technique. The swallow and flowers are different colours of embossing powder.
All you need is some card stock that is not too absorbant. You want your embossing ink to stay wet for as long as possible. I use a very smooth cars stock. And you need some colours of embossing powder and a craft stick or teeny tiny spoon. After the first try with my craft sticks, I looked online to see if I could find some laboratory scoops, so I can work even more precise. I am happy to say I found some on eBay and am waiting for those.

I selected a few of my glorious Emerald Creek embossing powders. They are so rich and some are so glittery. I used a stamp that would show off this technique well.

Here you see the image stamped with embossing ink. I tried various types of paper to do this, a semi glossy or very smooth surface works best.

With my craft srick I scooped up a small amount of embossing powder and sprinkled it over the areas that I want to be that colour.
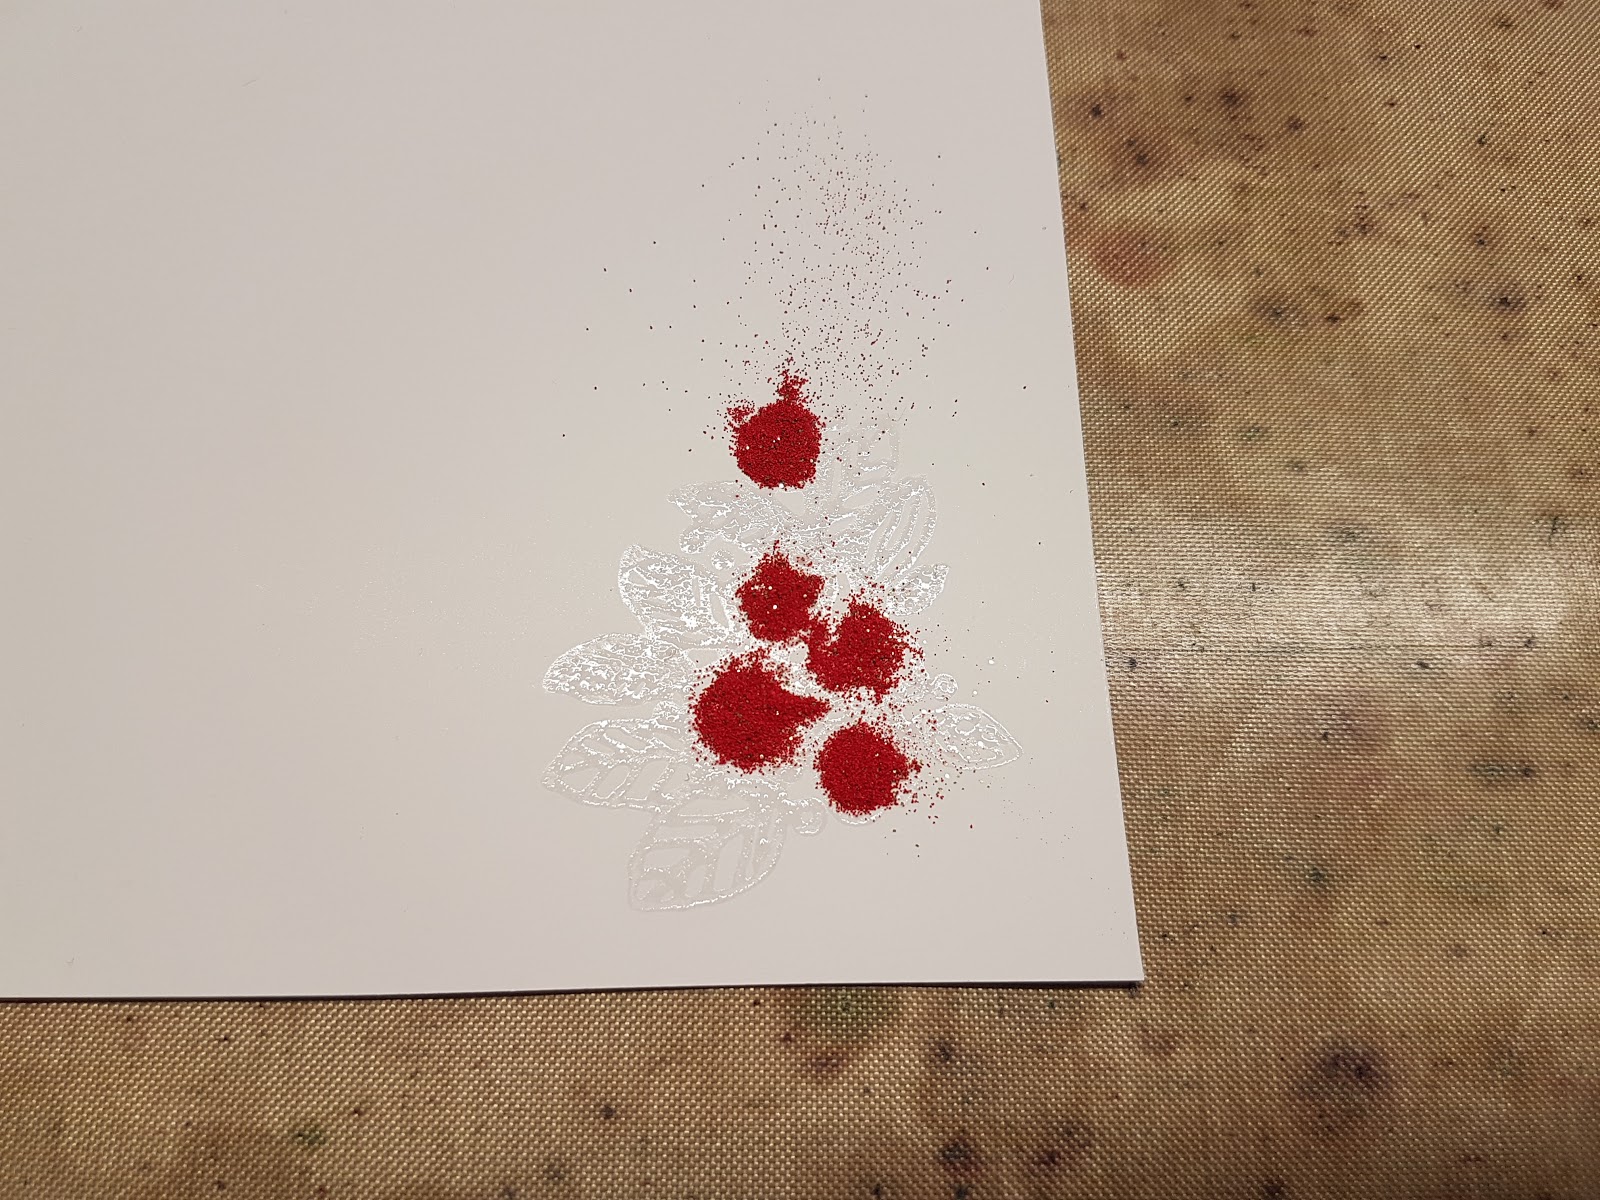
In this case I sprinkled Chinese red over the roses.

After I finished covering the red areas, I covered it with St. Paddy's green to colour the rest. In this case I only used two colours. On the finished tag you see that I did another image with more colours. You can sprinkle as many colours on an image as you like, just remember not to remove the excess powder before you are completely done. If you do the powder will stick to areas you don't want. So in the end, when you do tap off the excess embossing powder, you have a mix of various colours. I used some of it to heat emboss the sentiment. The rest I put in what I call the party jar. It is a jar with mixed embossingpowders. I use it sometimes for heat emboss embellishments or sentiments. It looks like miniature confetti.

Here I used Sweet Valentine and Sparkly Green powders also from Emerald Creek Craft Supplies.

On this stamped image I used the sparkly green, Easter Parade and Chinese red embossing powders. The more I played, the better I could control my powders.
This was my favourite result yet....

I can't wait to get my mini scoops so I can play even more....

After staining a manila tag with tumbled glass distress stain, I stamped the sentiment with embossing ink and embossed it with the mixed powders leftover from my "painting". I die cut the florals and glued them on my tag. I stained a piece of crinkle ribbon with squeezed lemonade distress stain and made my fluffy bow.
I will do another fluffy bow tutorial very soon. The other one I did was a long time ago, so a new one is required ;-) as people keep asking me how I make my bows.
I hope you enjoyed my experiment. I can't wait to see if more people are willing to try this.
Have a wonderful day, thank you for stepping by.
Take care and keep your craft on!
Freddie
xxx
awesome , thanks freddie <3
ReplyDeleteYou are welcome and thank you for looking :-)
DeleteYou are welcome and thank you for looking :-)
Delete