I have been addicted to olives for a while now and the ones we buy come in these huge pretty jars. I wanted to recycle thwm and give them a make over so that they can be used as a decorative piece, or even as a useful jar.
After I finished making this one, I decided it was too pretty to give away or just sit somehwere, so I kept it for myself and keep my crinkle ribbon in it. I always pre cut me ribbon to the length I need to make my fluffy bows. And now instead of a plastic ice cream tub, they are kept in my pretty jar!!
Here is how I transforned my glass jar with lid....

I started with the lid. I cut a piece of cotton fabric to size. In this case from an old bed sheet.
And I stamp it with archival ink to give it a country style look. This sap green is almost identical to bundled sage distress ink. The relevance will make sense later *wink wink*

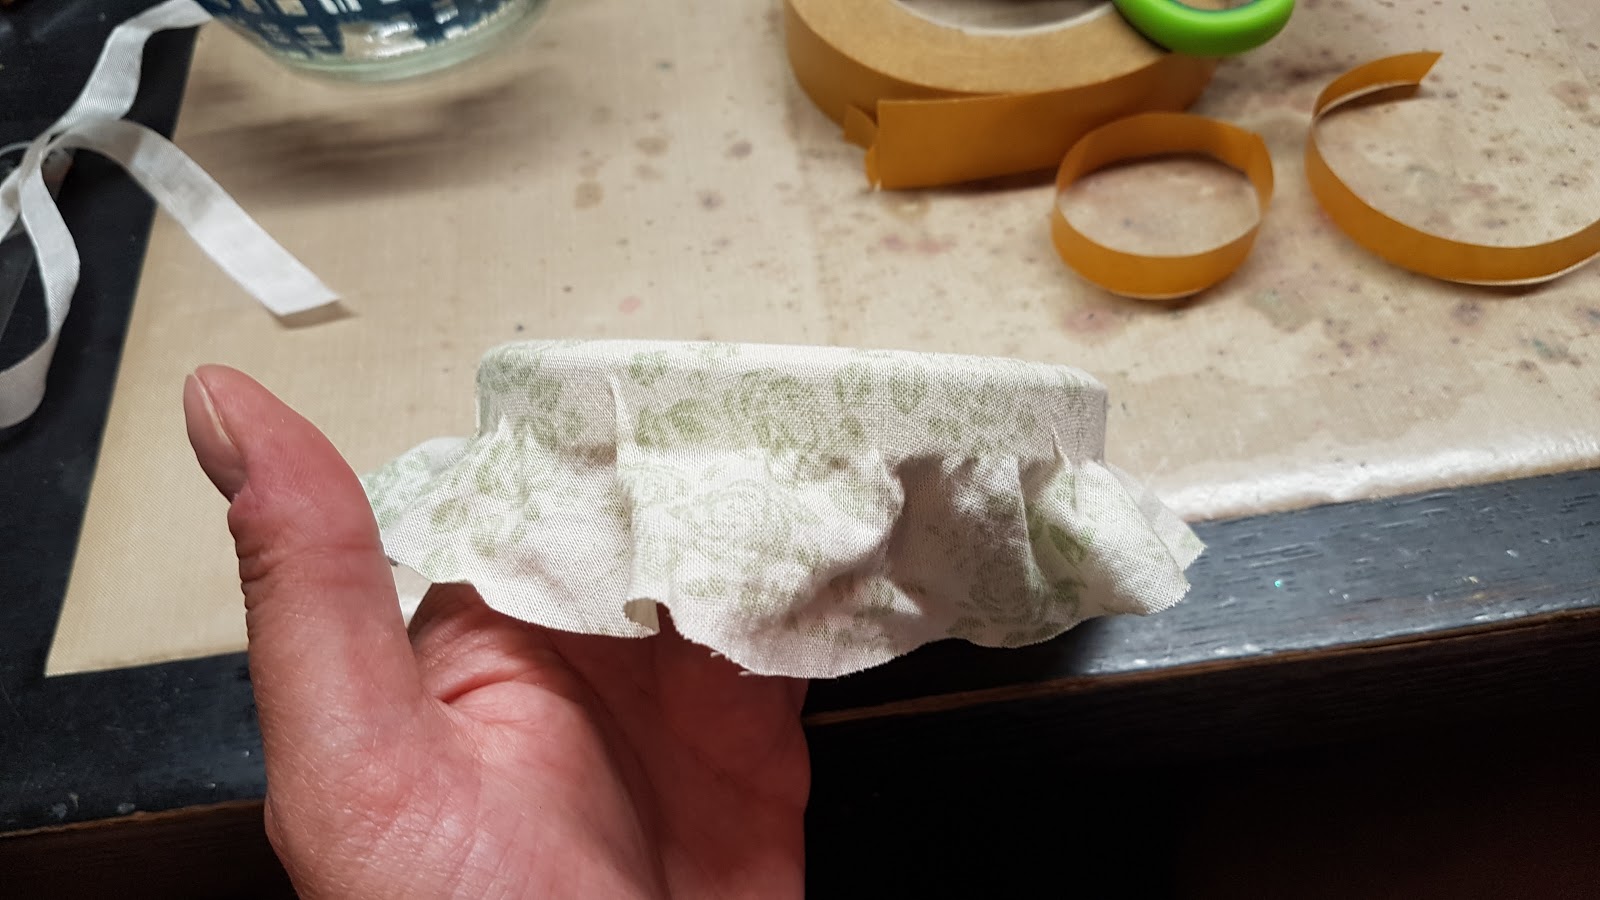
I trimmed most of the excess fabric off, I will trim some more once the lid is done.
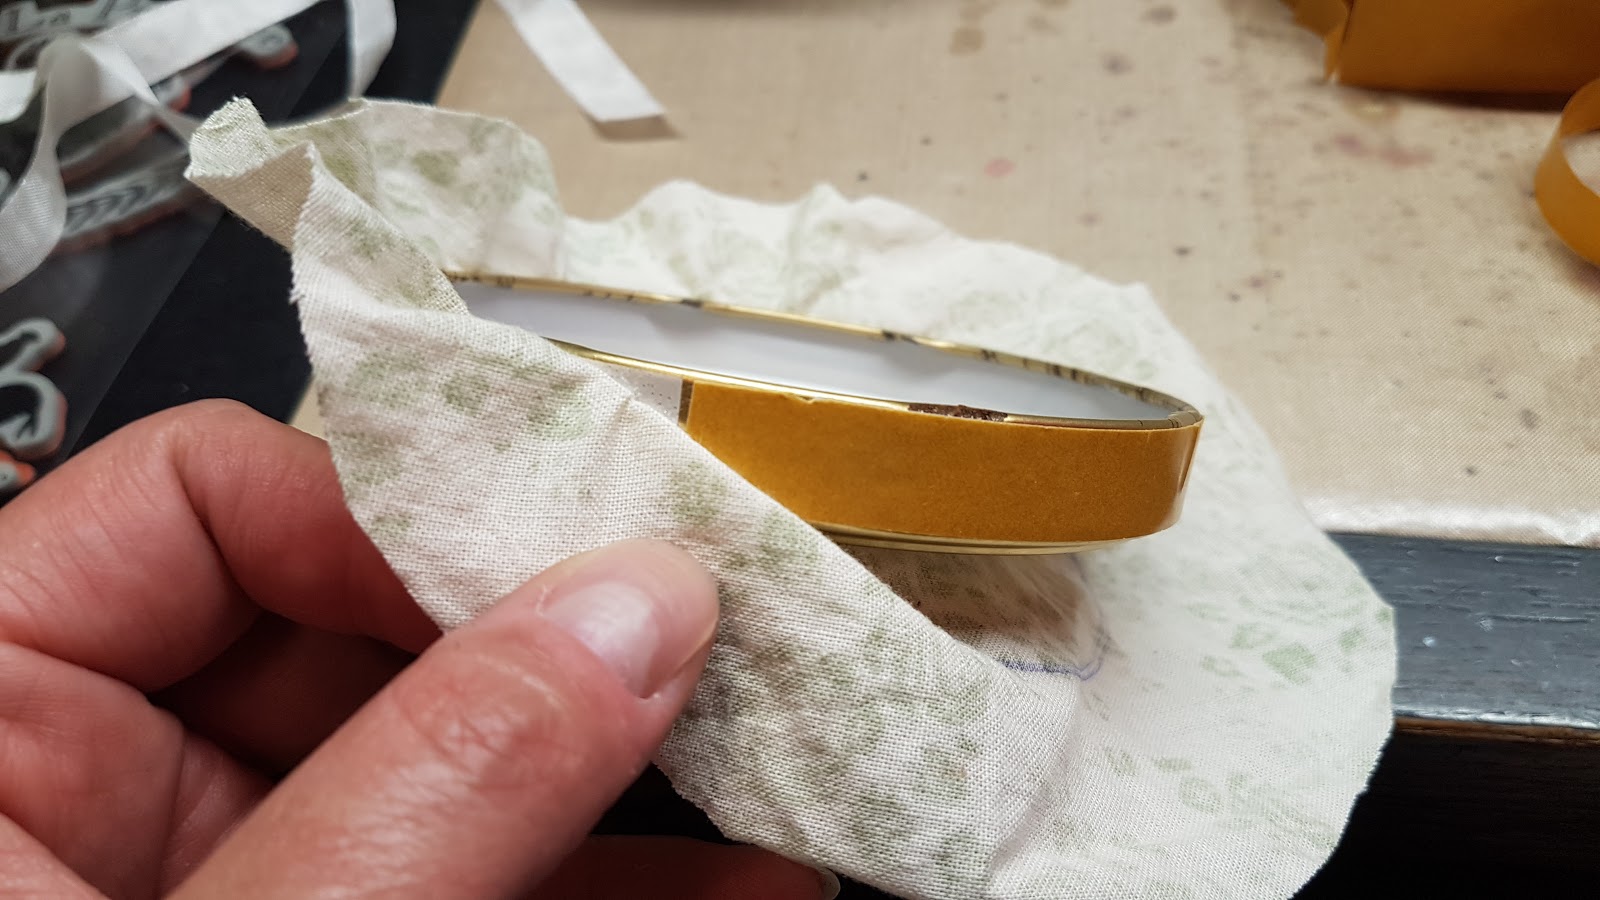
I stuck the fabric to my lid using two sided tape. I made sure I put it on there really tight.
Normally the fabric is tied around the "neck" of the jar with string or ribbon, but that means I would have to untie that everytime I use the jar. So I decided to make a faux tied lid, so I can open the jar more easily.

I put double sided tape on tge edge of my lid, to create the illusion of a tied up lid.
My phone acted up and didn't save the pics I took of staining my ribbon and putting it on the double sided tape. So I will try and describe what I did. The ribbon is stained with distress ink in the colour Bundled Sage. So now it matches the fabric. I stuck the piece of ribbon on the tape on the rim of the lid. I made sure I had enough ribbon to tie my fluffy bow. I tied my bow the same way I do on my tags and cards. I must say that I LOOOOOOVE how it turned out!
Now onto the jar itself!

I want a plaid print on my jar. To do this I used the plaid stamp by Tim Holtz, embossing ink and the glorious Aurora Stone Blue embossing powder by Emerald Creek Craft Supplies.

I stamped the image on the jar with embossing ink and the unmounted cling stamp. I didn't put it on a block so I could press it along the curves of the jar. I didn't press too hard at the edges as I didn't want it to look too tidy. Then I took my heat tool and embossed it. It takes a while as the glass heats up much slower than paper, obviously. But once it heats up it melts quickly. And after it cools down it stays put. I scratched my nails over it and nothing chipped off! I was quite surrised about that! Yaaaaay!!!
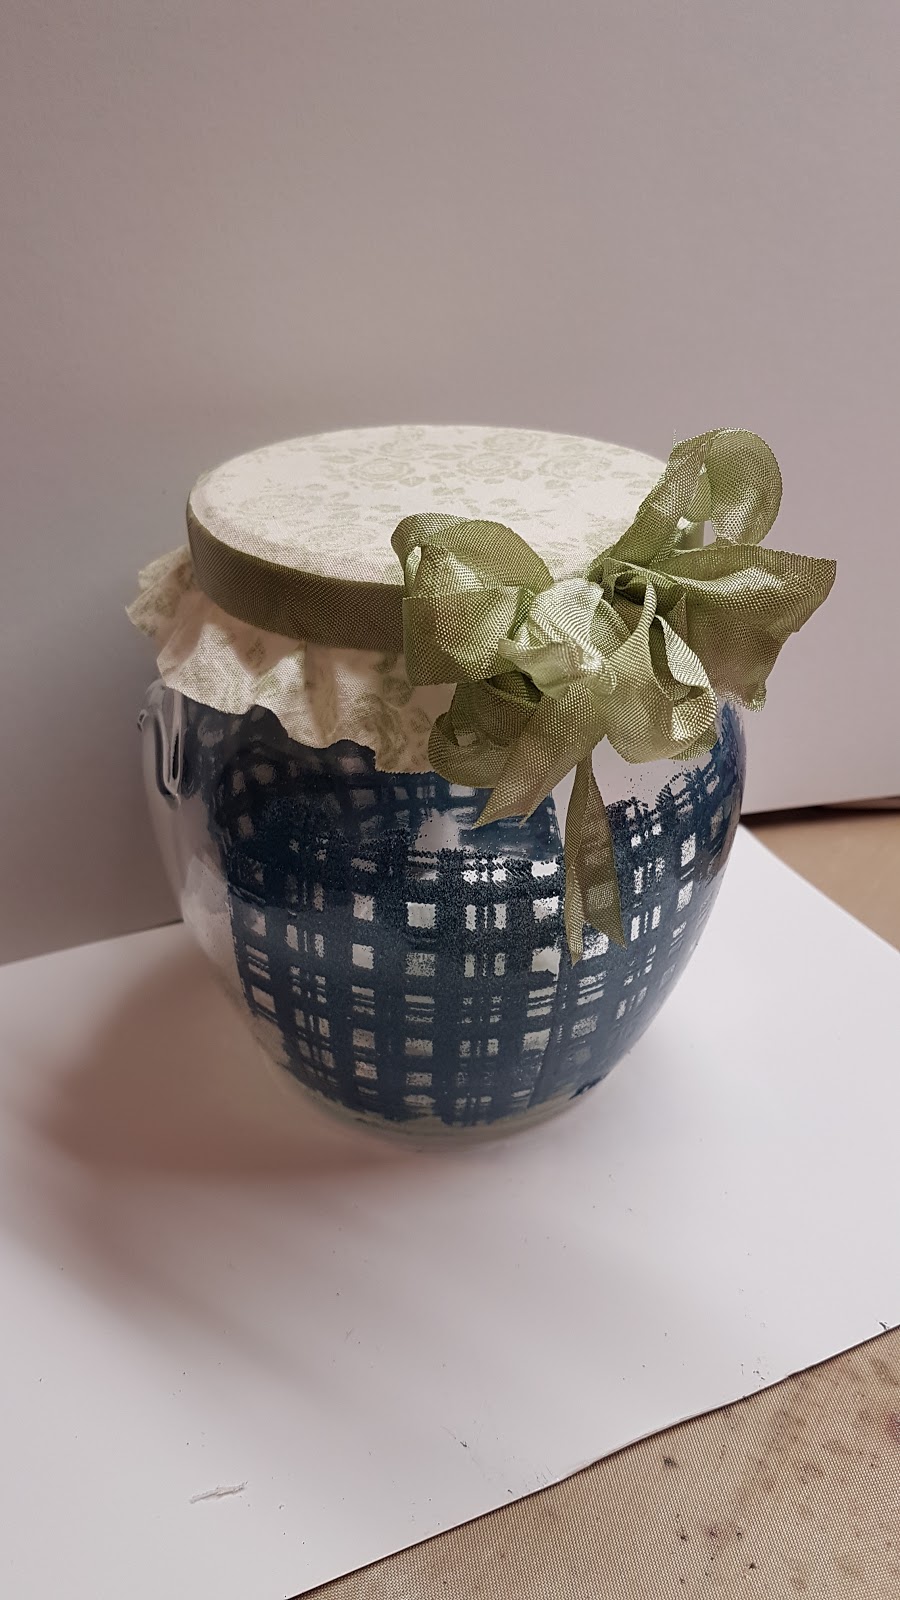

I am soooo pleased with the outcome of this experiment. I am so keeping this jar on my desk :-)
Thank you for taking the time to visit and read my blog. I hope to see you here again.
Take care and keep your craft on!
Freddie
xxx