Monday, September 19, 2016

Wax paper resist technique

Welcome to my blog. Today I want to share a technique that is an oldie but goodie. The wax paper resist technique. It works amazing with distress inks. This tutorial will be featured on the Distress Ink Technique page on facebook. I am one of the admins and we take turns to post a tutorial on there every monday, the technique of the week :-)

Well let me explain this particular technique. You will need an old iron to do this technique, or one you don't use for your fancy clothes ;-)

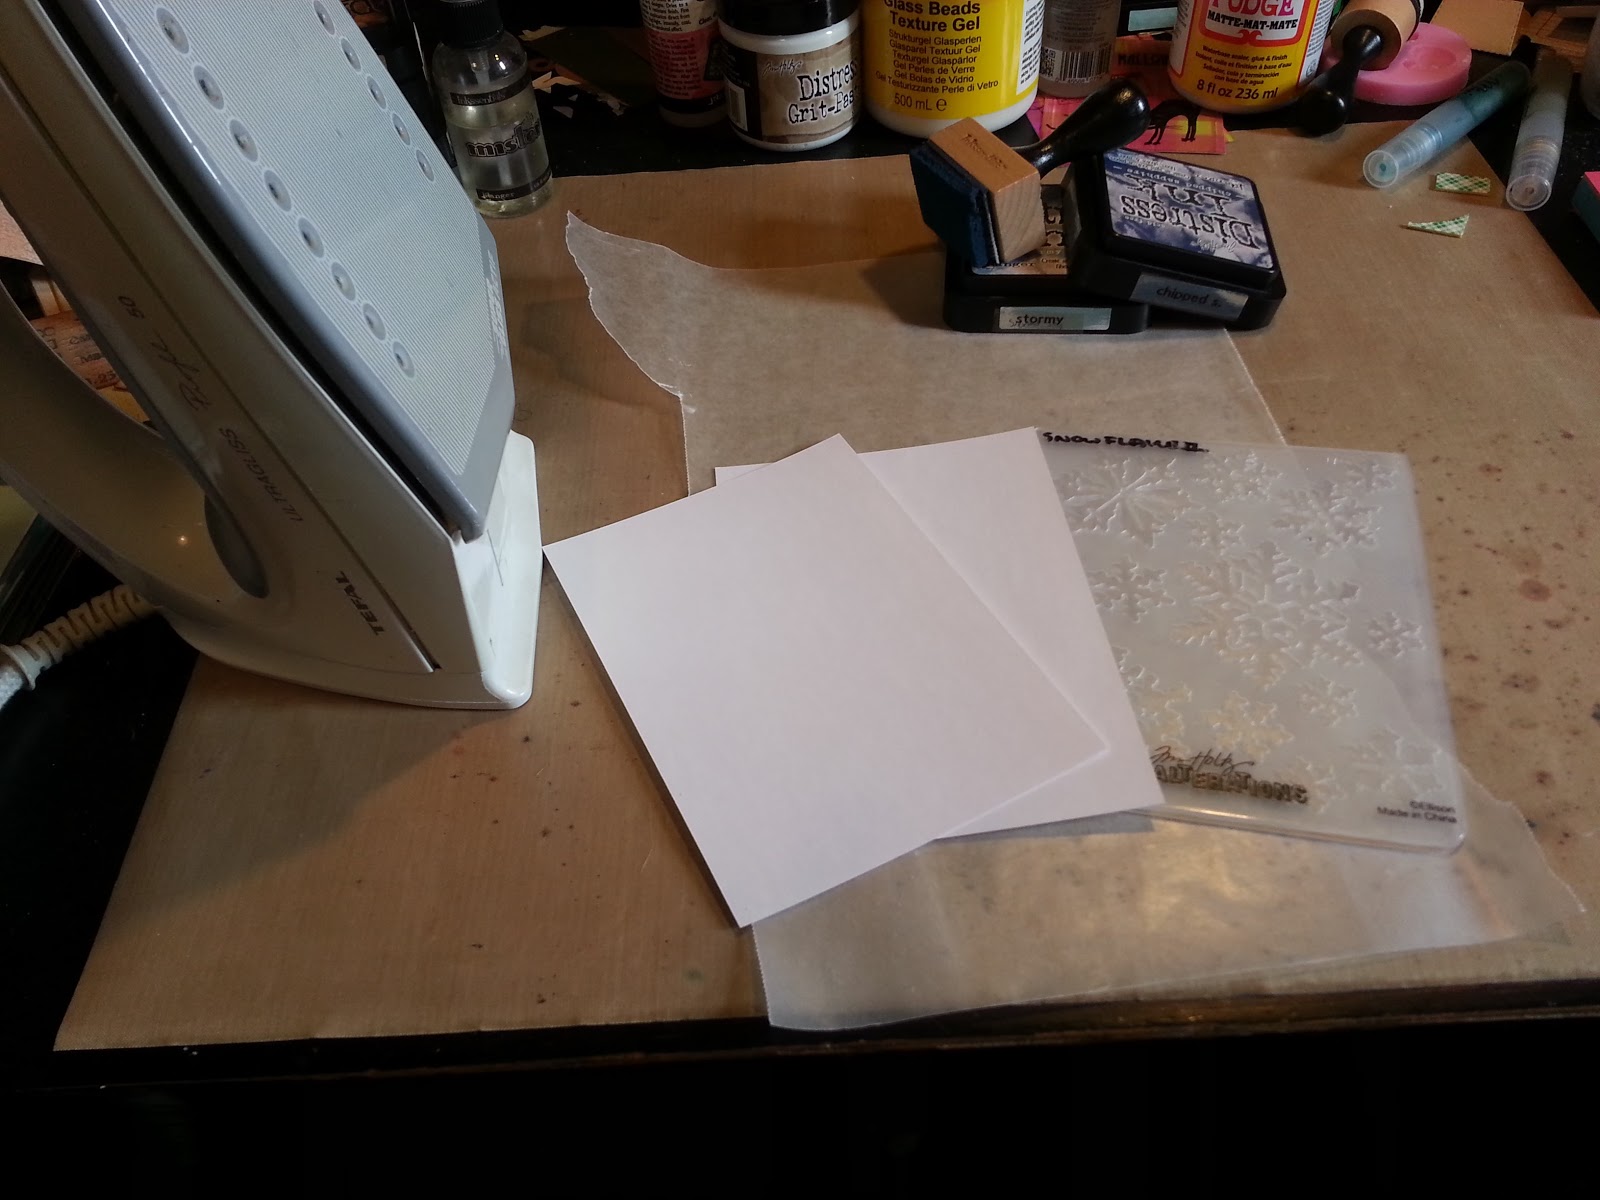
This is what you need: an old iron, two pieces of card, a piece of wax paper and an embossing folder. Oh and an embossing machine obviously lol.

I dry embossed the sheet of wax paper using an embossing folder and a piece of card to add more pressure.

Here you see the pattern embossed in the wax paper.


I cover the front and back with my pieces of card stock, and put this sandwich inbetween two sheets of cheap copy paper.

You iron over the cheap copy paper to get the wax to melt onto the card stock. It goes very quickly. I put my iron on the highest setting and just move it over the sheets a few times.

You can barely see it, but the wax print is on there! Trust me ha ha ha.

See, I told you it was there. Here you see the difference between the embossed and the debossed side of the wax paper imprint. Left is the embossed side and on the right the debossed side. I inked over it with stormy sky distress ink and an ink blending tool.

I turned them into two christmas cards with some embellishments and stamped sentiment.

I stuck the card onto a card blank after I trimmed it to size and inked the edges with some walnut stain distress ink. I had this ATC laying around for ages, so I decided to use it as a card topper.
Then stamped my sentiment in black and after that completely dried, I stamped it again but with embossing ink and heat embossed it in silver.

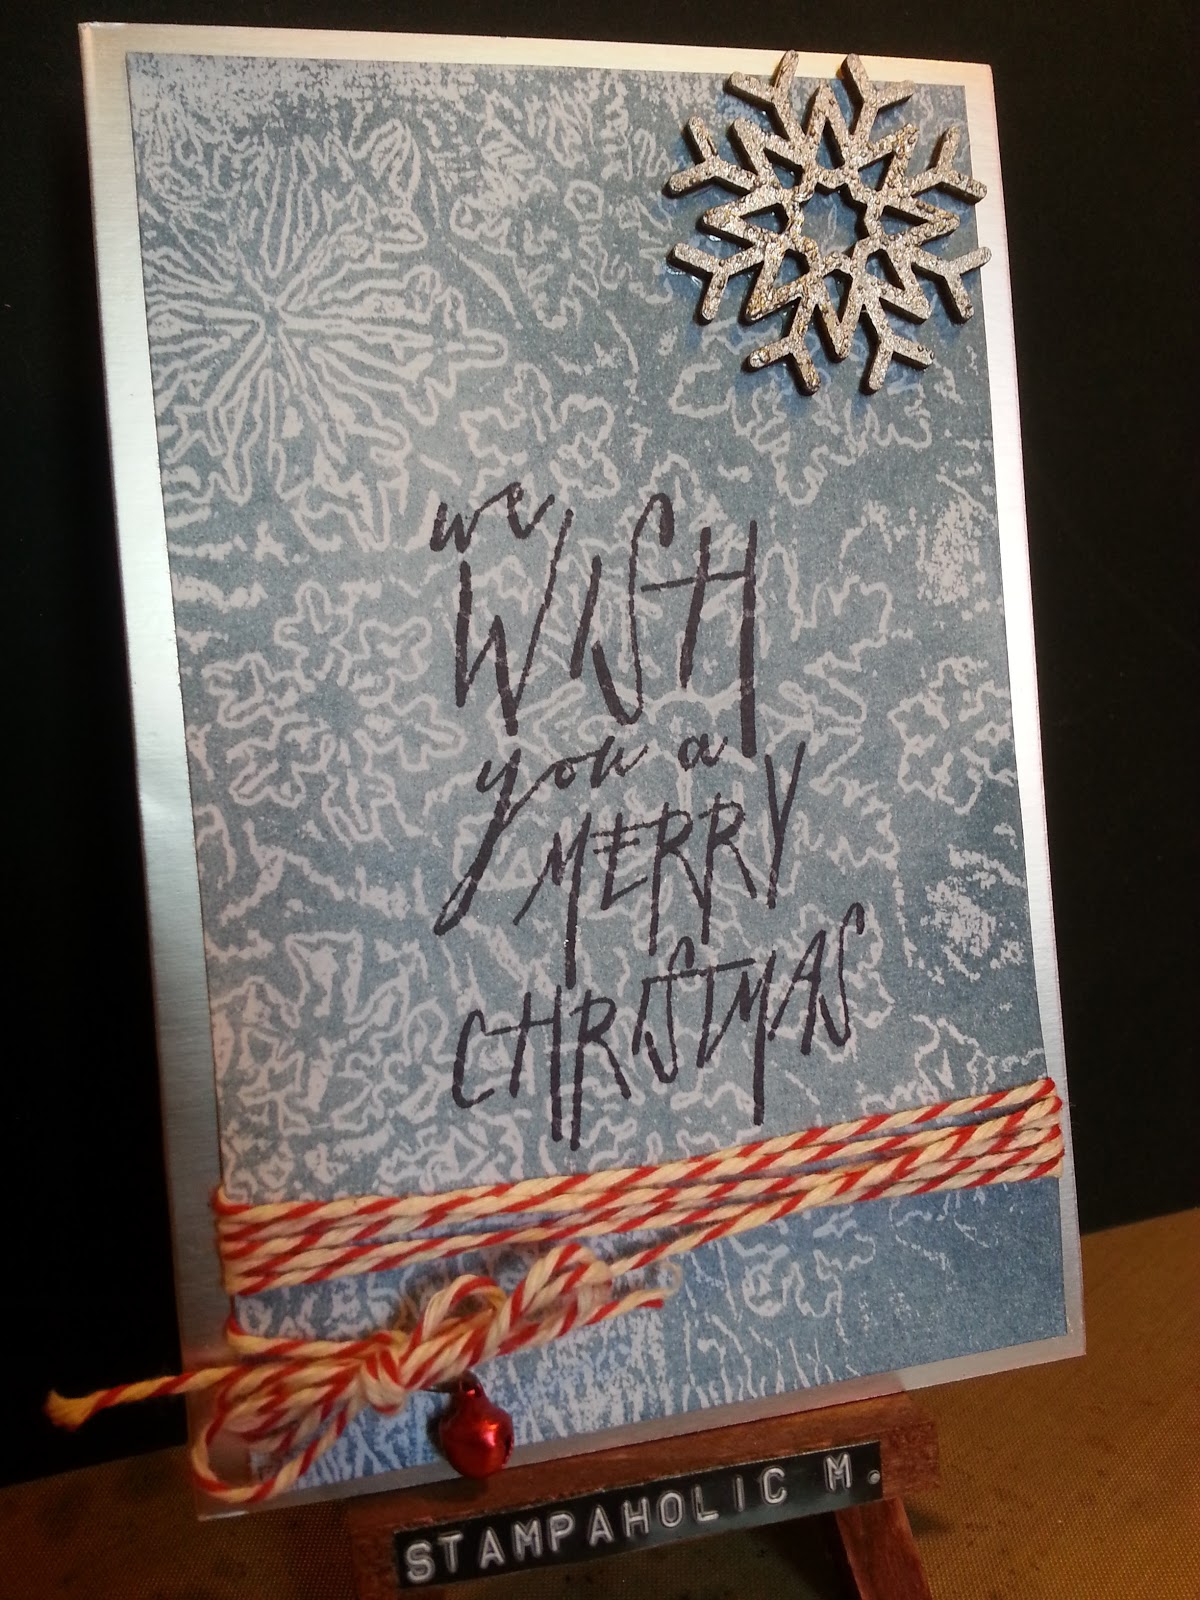
On this card I stamped the sentiment in archival ink and after it dried I wrapped some baker's twine around the card stock befor I stuck it to the card blank. I added a little red jingle bell to give it a more festive look. I painted a wooden snowflake silver and adorned it to my card and it is done!

Thank you so much for taking the time to have look and I hope you are going to give this technique a try :-)

Have a great day, and keep your  craft on ;-)

Take care,

Freddie
Xox


Wednesday, September 14, 2016

Green Lantern card

Another card waaaay out of my comfort zone. This is why I like certain challenges. On the Emerald Creek Dare blog is a challenge currently to make a superhero themed project. When I read it this popped immediately into my head. We just watched the movie and I knew exactly what I was going to use to make this. St. Paddy embossing powder by Emerald creek craft supplies!

I took a piece if black card stock and drew the Green Lantern logo on it with a paint dabber and sprinkled the St. Paddy embossing powder over it and let it dry. Once dry I heatembossed the powder.

I wanted to create a galaxy background, so I took a brush and brushed perfect medium over parts of the cardstock. I then brushed over that with purple and reddish perfect pearls to create that look you see through telescopes. 

To create the stars I splattered some silver and bronze paint over the card.

I added the sentiment to give it the finishing touch and mounted it all to a silver card blank.

Now to think of someone to send this to! Lol

Thank you for stepping by :-)

Until next time, take care.

Freddie
Xox

Friday, September 9, 2016

Distress crayon resist tutorial

Hello fellow crafter,

I am one of the admins for the Distress Ink Techniques Facebook group. Once a week we do a technique of the week, and this week was my turn, so below my tutorial for the distress crayon resist technique.

What you need is a distress crayon in a light colour, the best effect you get with picket fence, a stencil, a card stock surface and distress inks.

I taped my tag to my desk with a tiny but of glue from a tape runner. This way it won't slide over my craft mat. Then I taped the stencil over it so that is stuck too.

I scribble over the stencil with my crayon.

I smear the crayon over the stencil and work it into the cravices.

After I applied the crayon in various areas I take off thr stencil and let it airdry. Because the crayon is a bit thicker aling the edges of the stencil, it takes a bit longer to dry. You can't really dry it with a heat tool, as the crayon might melt.

I wanted tongo for a tweed look, so I am inking the tag in a soft grey brown, frayed burlap, and ink a bit of vintage photo and walnut stain to give it some depth.

This is what it looks like after I slightly wiped the ink off the crayon with a damp cloth. When I see tweed I immediately think of autumn, so I am going to make an autumn tag out of this.

To make my autumn leaves I used the wrinkle free distress technique, also called the smooshing technique. I cut a strip of card stock and pressed it in various distress inks that I put on my craft mat. I used peeled paint, wild honey, crushed olive, aged mahogany, burnt amber, brushed corduroy and walnut stain. Oh and fired brick. I also stained some crinkle ribbon in the same colours. I stamped over the leaves with some leave stamps to create a realistic look. I glued them to the tag and added some chit chat words by Tim Holtz.


And here the finished tag.

Thank you for stepping by and please come again :-)

Take care,
Freddie
Xox

12 tags of 2016 September

My yupo finally arrived, and my flue is finally getting better, so I decided to give the september tag a go. Oh boy this yupo paper takes some getting used to!!

It is not quite how I invisioned it, but not too bad for a first try....even if I do say so myself lol.

I gave the tag a Halloween twist as I also wanted to break in my new Halloween stamps ans stencils.

Thank you for taking the time to step by my blog.

Until next time, take care.

Freddie
Xox