Wednesday, January 28, 2015

A bling and grunge tag

Hello dear visitor,

In this post I would like to share with you how I made a grungy yet blingy tag.
I started out with a manila shipping tag, as I usually do ;-).

I stamped a certain "net" like stucture on the plain card with embossing ink and heat embossed it with clear embossing powder.

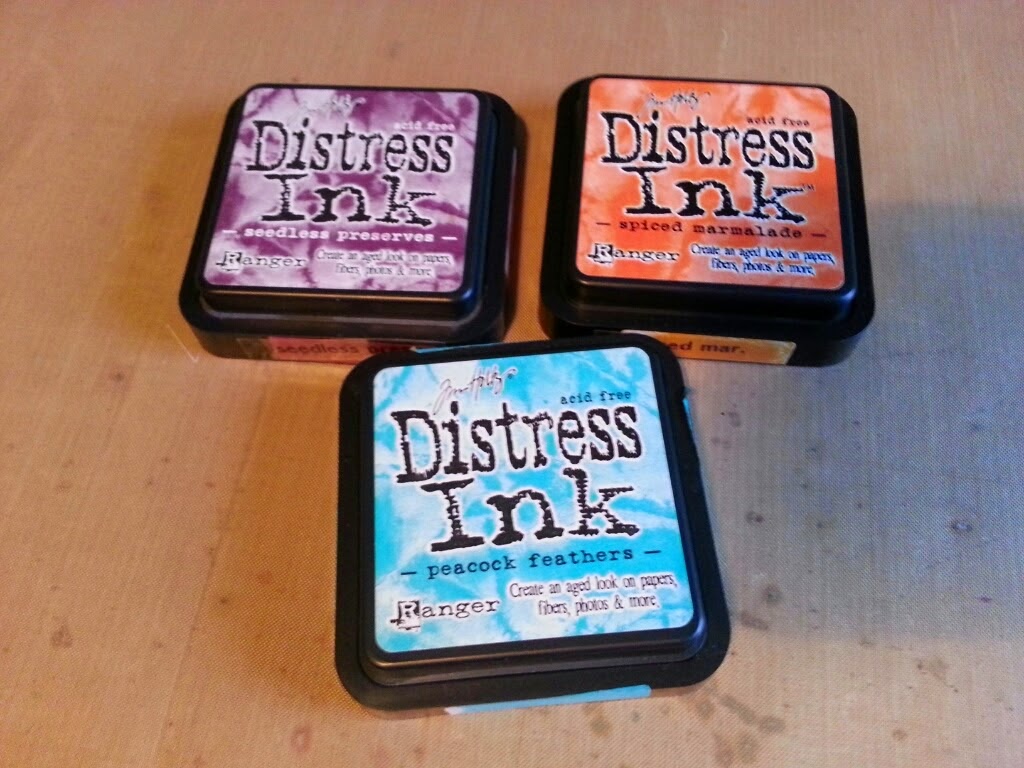
The next step was to ink up the card with distress ink.

That way the embossed image magically appears  i stamped the sentiment in the middle and it just looked too plain.

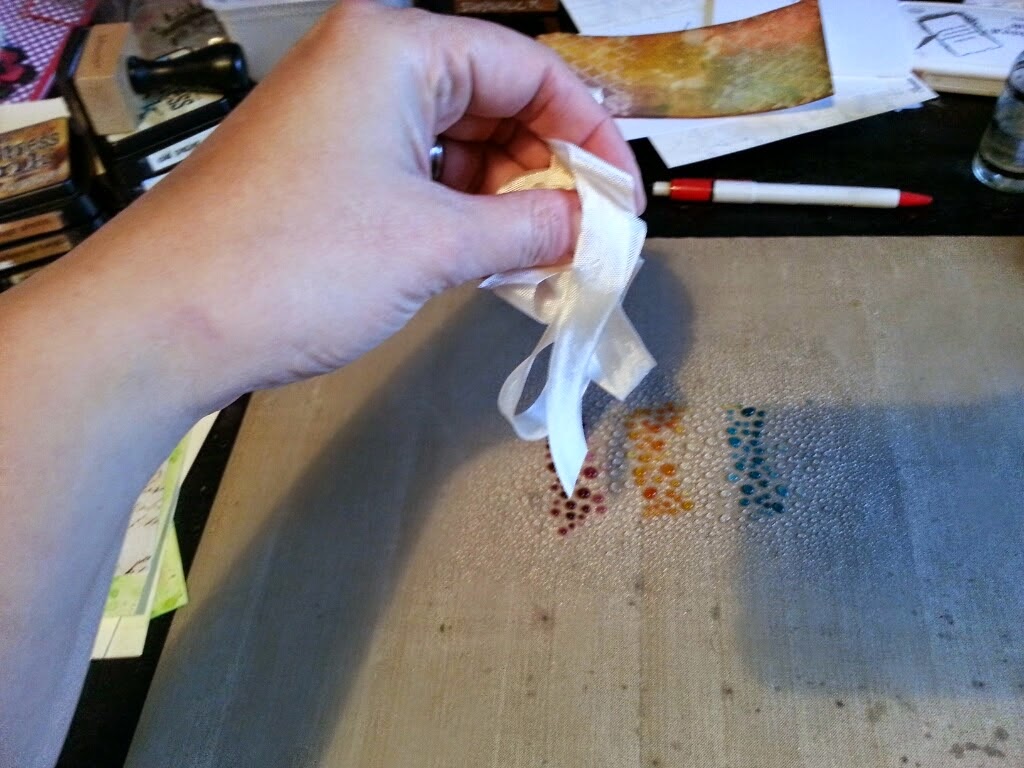
I had a very good deal online for bling a little while ago so I thought to use some of that to sass up the tag. I put little rhinestones on all the "crossing" points of the embossed image.

It surprised me to be honest that I liked it as much as I do! And going on comments made on facebook, I am pleased to hear it is liked. I might make some more in different colours.

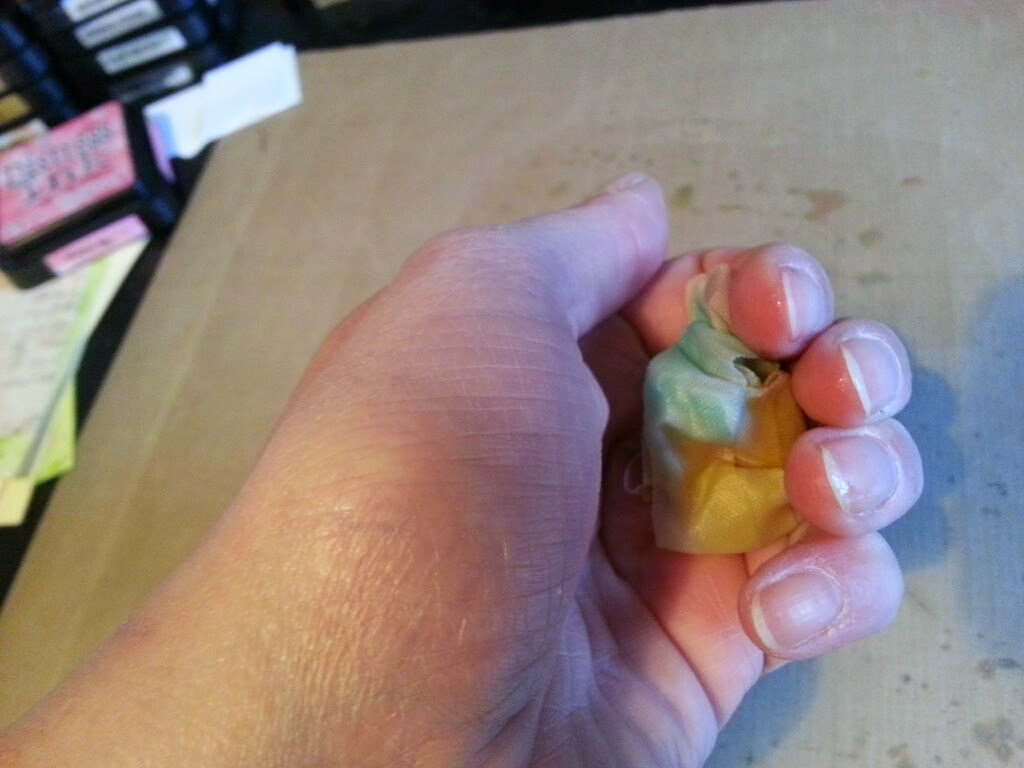
I finished the tag with a stained fluffy crinkle ribbon bow in similar shades as the tag.

Well that is it for now...keep your craft on!

Take care and until next time.

Frédérique
Xxx

Sunday, January 25, 2015

step by step tutorial for staining crinkle ribbon

Dear blog visitor,

Thank you for stopping by and reading my post.

The other day I was asked how I make my ribbons match my projects. It is a technique I learned watching Tim Holtz and various other artists.

So here a step by step explanation of how I do it.


I start by cutting a piece of crinkle ribbon, my favourite ribbon of all time.


I choose the colours I want to use, most of the time two or three different ones. You can also use distress stain or even distress markers.


I swipe some on my craft sheet. You can also use distress stains or even the markers.

You then spritz water on the colours until you have bigger droplets.

 This is the effect you are going for. If you want stronger colours, you just use more ink and less water.

 And then you just drop in your crinkle ribbon!

You play with it until you have the desired effect.

If you want it really crinkly you can squeeze the ribbon in your hand. Be careful though because if you squeeze too much you end up with one muddy colour....

If you like the colour effects you can dry it with your heat tool. Don't be alarmed when you see steam coming from the ribbon, it is heat resistant and will turn shiny once it dries. If you think the colours are too bright, you can squeeze the ribbon in a paper towel to get rid of some of the colour befor heating it.

And this is the end result. I didn't use much ink, so this is coloured very lightly.

So now you can always match your ribbon and bows to your project.

Thank you for your visit and keep your craft on.

Until next time, take care.

Frederique


Wednesday, January 21, 2015

Perfect pearls birthday tag

Hello dear blogger,

This is a very simple yet flashy tag hahaha. I used a black shipping tag and stamped some images and a sentiment on it with perfect medium. I coloured them with various perfect pearls. I stamped the harley davidson name on the ribbon with stazon ink to finish it all off.

I put it all together and saw that it was just not right...it was lacking something.
So I stamped the tyre track and route 66 emblem in embossing ibk and clear embossed it. That looked much better!

The Harley lover loved his birthday tag :-)

Until next time, take care.

Frédérique
Xxx

Saturday, January 17, 2015

A few projects of January

Dear visitor,

I made a few simple tags this month that I like to share with you.

I am in a stamping phase at the moment. I plan to use my stamps more as I am a stamper at heart, but strayed a bit and used a lot of embellishments and ephemera the last couple of months.

So I am going back to basics hahaha.

Until next time,
Take care and keep your craft on ;-)

Frédérique
Xxx

Thursday, January 8, 2015

A simple stamped tag

Welcome dear reader,

I decided to sit at my desk and see what happens...this tag happened....
I took a manilla shipping tag and inked it with pink shades of distress ink using the wrinkle free distress technique. I then stamped various textures on the tag with archival ink. I inked up the edge with walnut stain distress ink and my trusted blending tool.
The small tag is even simpler. I stamped the image on it with stazon ink and wrinkled it a bit and then inked over it with walnut stain distress ink and my blending tool. I distressed the edges and inked it again.
I punched some holes and added some eyelets with my big bite and the tag was done.
I stained some crinkle ribbon with peacock featers distress stain and dried it to make the bow.

Sometimes I get so caught up in embellishments and die cuts that I almost forget to stamp. In my heart I am a stamper....ever the stampaholic ;-)

I hope you enjoyed this written tutorial.

Have a wonderful day and take care,

Frédérique
Xxx

Saturday, January 3, 2015

The twelve tags of 2015 January

Hello there,

Tim Holtz always does the 12 tags of a year...in this case 2015. I used to make them every now and again and so I made the January one today.

I had to improvise a bit as I didn't have all the bits and bobs for it. I used adirondack paint dabbers instead of the distress paints and I used the regular stain instead of the spray. I also used a pen nib instead of the arrow and I don't have any mirrored stars (yet) so I made one with hot glue and a mold and painted it silver. I also made my own small label on which the star is glued. He splattered the whole thing with white paint.. I used frantage to get my white specks... But it turned out quite nice I think.

I hope you like it too...

Thank you for stopping by and I hope to blog a bit more regularly this year.....

Take care and please cone again ;-)

Freddie
Xxx