Sunday, December 23, 2012

Multi coloured embossing Santa girl.

Hello again,

Welcome back. I am so glad you decided to visit my blog again.
Today I want to share a project I made as an experiment really. It turned out okay so I sent the card for Christmas.

I started out with colouring the tag using stains. Then I stamped the image in black Stãzon ink. I coloured in the various areas with an embossing pen. First all the areas I wanted to be white, like the trim of the coat and hat.I then heat embossed it with white powder.Then I did the same with the areas I wanted to be red. I heat embossed them also. Then I found out the white was tainted with some red granules and it turned pink. So I used liquid pearls to cover up the pink.The Holly twig I coloured with stickles and the tree I heat embossed with powder. Also the star on top of the tree. I think it all looks quite adorable.
 
Until next time!
 
Frederique

Shiny Santa

Dear reader,


Today another in the moment creation. I decided to make a Christmas tag using only Perfect Pearls Powders. It made a rather flashy tag I must say.


I stamped everything with perfect medium on a black tag. That is especially for working with Perfect pearls powders. Although I use imitation powders as the perfect pearls powders are rather expensive. The only difference is that after I complete my project I have to mist it with a little hairspray to fixate it all.
I coloured everything with different colours and it looks nice and shiny.
I added a red ribbon and a "handmade" charm and I dabbed the edge of the tag with a pearl acrylic paint dabber.
 
I hope you enjoyed reading my blog so far. I invite all my readers to leave a comment so that I know what you think of my work or with suggestions. In any language.
 
Take care and I hope to welcome you back soon!
 
Frederique
 

Simply Frosty....

Hello all,

This tag was made very last minute. I didn't have much time so I had to make something rather simple and quick. The frosty die I made by the dozen so I always have a stash. It is simple cut out of card board using the cuttlebug and sizzix dies. The sentiment I also have a pile of and tags.....I have literally thousands of tags in all sizes and various colours. So it is all a question of gluing it all together and write my wishes on the back of the tag.

Quick and easy once all the dies are cut hahahahaha. I always start in September with my Christmas stash. In a way I work backwards. As I make my Christmas preparations before I even start on my Halloween projects. But then again for Halloween I only make about 10 projects and for Christmas about 30. So by the time November comes I have cut and painted all my embellishments. Well nearly all of them. As sometimes I get inspired and I make something from scratch.
 
Anyway, this is my favourite Christmas die.....
 
Until next time.....take care and thank you for visiting...come again.
 
Frederique

Gingerbread man tag

Happy Holidays dear readers,

I hope all is well. The countdown has begun....the last Christmas cards and tags have been made. Unless someone sends me a card that I haven't sent one yet I am done making seasonal things. But a few haven't been posted yet so here comes another one...

I stained the tag with warm colours and distressed the edges with Walnut stain. I stamped the sentiments with clear embossing ink and heat embossed them in white. The gingerbread man is a die cut I got with a magazine. I painted it chocolate brown and trimmed it with liquid pearls to make it look ready to eat. The snowflake is a die cut from Tim Holtz and I painted it with pearl acrylic paint. The wreath is a die cut also by Tim. It is a leaf crest but I made it into a wreath. I stained it with Pine needles distress stain and heat embossed it using Pine Needles Distress embossing powder. I decorated it with stickles and liquid pearls. I put it all on the tag and added a gold ribbon and a blue ribbon on the tag. I also put a "handmade"charm on it. This was my first ever gingerbread man...

Until next time...stay tuned for a few more Christmas wishes.....

Frederique

A cosy fireplace

Dear reader,

A friend of mine lives in California in the States, so I don't think she will have a fireplace burning for the festive season. So I thought I would make her one.

I decided to take pictures of the work in progress. Just to show the various steps.
I started out with regular card stock. I embossed it using the Cuttlebug and an embossing folder to get the brick wall effect. I then coloured it slightly beige using distress ink and an ink blending tool. Then I blackened an area to make it look like charred stones. Using liquid pearls in blue, red, orange and yellow to make the flames. Around the flames I used some glittery stickles here and there to make it look like it is really burning. I thought it looked rather real!


  The sides of the fireplace I made from parts of a die cut using the Baroque die from Tim Holtz, I cut it out of grunge board. It is a bit thicker so it has more dimension. I painted it with a grey crackle paint. The faux wrought iron I made from regular card stock cut with the iron gate die from Tim. I painted it with black acrylic paint and gave it a glossy shine with a glue. The beam I cut from kraft glassine and I embossed it with a wood grain embossing folder in the cuttlebug. The inside of the sides and the bottom of the faux beam are also blackened with a tiny bit of black ink.

You can't have a festive fireplace without a Christmas stocking.... I still had a die cut lying around that I put to use here. I painted it red and white and let it dry. Then I covered the red with stickles and the white with my snow marker. Looks so cute! I first thought of adding white or gold stripes but I am glad I didn't. It looks perfect like it is.


I stamped a garland on some white card stock and cut it out using a pair of scissors. After all a fireplace at Christmas needs a garland.

I put some red and green distress ink on my craft sheet and with a water brush I coloured in the garland. The flowers in red and the rest in green obviously... The berries I touched with white liquid pearls. And with gold stickles I made a trim in the whole thing.
The next thing the fireplace needs is candles. You cannot celebrate Christmas without candles. So I stamped a few candles and cut them out.


I coloured in the candles with biscotti liquid pearls and the little flames with gold. The area around the flames I brushed slightly with stickles to give it a glow.But I coloured it yellow with distress ink beforehand. On this picture you can also see a close up from the garland.
Here you see the whole thing together. The sentiment is embossed using the cuttlebug, it is silver card stock and I sanded it slightly to make it look weathered. I distressed it a bit using walnut stain, green and red distress ink and added a gold trim. I think the whole thing looks quite cosy. The edge of the card is also distressed and I chomped the corners to finish it all off. I hope Megan likes it.
You can almost feel the warmth of the fire, right?

I hope you enjoyed this mini tutorial..... and stay tuned.

Frederique


Christmas tree card.

Tis the season to be jolly...falalalala...lalalala. A few more days so a few more Christmas cards....

 
 This tag I made using various techniques. The tag itself was dragged through brown and gold stains to create a water colour background. I stamped some fir on it in various green colours. The pine twigs are die cuts from Tim Holtz. I stained them green and heat embossed them with pine needle distress embossing powder. The ornament on top is made using two die cuts. One for the ornament itself and the other to cut out the sentiment. I painted the chipboard bright red and after it dried I embossed it with UTEE. The white background is plain card stock I covered with glue and Rock Candy dry Stickles, this gives it a glittery finish.


 This ornament is made using a fragment and wrapping paper. I glued the fragment on the wrapping paper in the Santa with Glossy accent. I let it dry and cut it out. The part where the hole is I painted gold to make it look like a real Christmas tree ornament. I tied both ornaments in the branches using ribbon and that is it. 


Here you can see the glitter on the white background of the sentiment.
A few more days and a few more cards and all will be back to normal. I promise I wont bore you with many more Christmas cards.......until next year hahahahaha.
 
Stay tuned...
Frederique


Wednesday, December 19, 2012

Frosty card

Hello again,

I am sure by now everybody has had enough of Christmas cards......but a few more and I will post regular projects again. Today I want to share a card I made using one of the new Tim Holtz seasonal blueprint stamps. They are so cute.

The background is dark blue card stock with a linen finish. I sprayed it using Perfect Pearls spray to give it some shine. The tag is stained with blue and silver coloured stains. The snowman image is stamped in Stãzon ink Jet Black. I let it dry and then covered the base of the tag with glue and dry Rock Candy Dry Stickles. When dry and in daylight it looks like frosted snow. Really beautiful. I traced the arms with brown liquid pearls. Same with the nose only in orange. The mouth and eyes are done in black pearls and the scarf I painted in with red liquid pearls. It gives it more dimension than regular paint. The holly on the hat is coloured with holly coloured and red stickles. On the background I dotted a bit of white liquid pearls as falling snow.
 
Here you can see the face, arms, scarf and hat better.
 
 
Here you can see the sheen from the Perfect pearls spray. The sentiment is stamped on a sentiment ticket by Tim and I attached it with tiny staples. But before that I laced a green and red ribbon through the hole of the tag and stapled it. The sentiment is stapled over the hole. I added a little "hand made" charm and in the side of the card I stamped the holly border and heat embossed it with embossing powder and again the berries made red with stickles. I cropped the corners with a corner chomper and that finished of the whole thing.
Frosty looks quite happy....
 
Until next time.
 
Frederique
 

Rudolph card

In this post I want to share another simple card I made for this holiday season.

This card was made using the leather look card stock in blue and I stamped it with swirls using a pearl adirondack paint dabber. The reindeer and tree are die cuts I cut from grunge board using Tim Holtz bigz dies. The reindeer is stained with a brown distress stain and I added a red pearl sticker for its nose. The tree I painted white and the trunk U painted with a brown crackle paint. After the tree dried I coloured over the white using the snow marker and puffed it up using the heat tool. The edge of the tree I distressed using an ink blending tool and walnut stain distress ink.
The sentiment I cut out from the seasonal paper stash by Tim and covered it with Glossy accents to make it glossy. To top it all off I cropped the corners with my cropadile chomper.
I put it all together using double sided tape and voila....another card ready for mailing.
 
Here you can see how that snow puffed up.
 
Hope to see you again for my other projects...
 
Frederique
 

Christmas meets Winnie the Pooh.....

Hello dear readers,
Last year I was given a sheet of 3D stickers by one of my aunts. She sent it to me as a little joke so of course I had to use them. So every time I make a card for her I use one of the characters of Pooh. Well she asked for it.......

This card was made using card stock with a leather look and a tag. I embossed the tag with the cuttlebug, using a Sizzix snowflake embossing folder. You can see the embossing better in the picture below. The flash of my camera is a bit strong. I distressed the tag a little bit using a light brown distress ink. I stuck the sticker op Winnie on it and put a gold sparkly ribbon through the hole of the tag. I had some card board die cuts I got with a magazine my mom gave me. It so happens that they were all seasonal. I painted the hat red and white and the tree green. After drying I used a snow marker to give the hat some fluffy white accents. Also the tree was accentuated with the snow marker. I love it. You just colour the area you want the "snow" on and then dry it with a heat gun and it puffs up. I decorated the tree with red and gold stickles and silver liquid pearls. Alongside the tag I stamped some holly with Dyan Reavely's seasonal border stamp and embossing ink and embossed it in a colour called Holly. It is various greens and a red glitter. It is quite festive. I emphasised the berries by colouring them in with red stickles.
 
Here you can see the snowflake background of the tag.
 
I will keep posting the rest of my cards as I send them.
 
Stay tuned and thank you for visiting!
 
Frederique

Sunday, December 16, 2012

Card for Uncle

Dear blog fans,

I want to share a card with you I made for one of my uncles. It is a simple card but sometimes those are the most appreciated ones.

 I stained white card stock in various beige colours to get a vintage paper look. I roughed up the edges with my paper distresser from Tonic Studios. I stamped the photograph in Sepia Archival ink and covered it with Rock Candy Distress Crackle Paint. The sentiment is stamped in purple Archival ink to make it stand out. The photographer is stamped in Stãzon Jet Black ink. The edge of the card is stained with Walnut Stain distress ink. I added a little tag made with a label maker. The little pin I will explain below.

A while ago I saw a video on YouTube, a woman was making there miniature portraits of mini pins. I thought it was fantastic so I tried it myself. It is not for the impatient or butterfingered........
I cut out a little photograph from Tim Holtz's paper stash and wriggled it in the mini pin. Then sanded of the edges and filled it in with Glossy Accents. That way the picture stays put and it highlights the image as well. I stuck it through the paper and I put a little dollop of liquid pearls so no one will injure themselves on the sharp end of the pin.

It made a nice vintage card.

Until next time....stay tuned.

Frederique


Thank you from Tim Holtz

Dear blog readers,

Remember that I sent three antique typeset letters to my crafting guru Tim Holtz? Well he sent me an email the other day to thank me and attached a picture of the letters in between the rest of the collection. They are where they should be I recon. And I am especially pleased that he kept them together. Funny thing though that he placed the D the wrong way round. But they look fantastic.

So everytime I watch a new video of Tim holtz at his desk..... I know that he is crafting on top of my letters amongst others... So maybe some of his creative Mojo will transfer to me hahahahaha.
 
 
Until next time.

Take care and stay tuned.

Frederique

Sunday, December 9, 2012

Christmas cards 2012

Dear reader,

In this post I want to show you the first batch of Christmas cards I made this year. A lot of them have the same background. I stamped snowflakes in white with stazon ink and inked over them with distress ink. That way the flakes really pop. But I will highlight the various techniques with each card.

 This card was made with Christmas wrapping paper and pressed gold angel hair I got from my mom.
I glued a fragment ( a piece of acrylic in various shapes) on the wrapping paper showing the pensive cherub and let it dry and then cut it out. On the back I put some strong double sided tape and put the pressed angel hair on it. I then trimmed it so it formed kind of a crest. The background is made like I explained earlier and I used the same strong double sided tape to adhere the fragment to the background. I cut out the sentiments from the seasonal paper stash by Tim Holtz and chomped the corners.
 
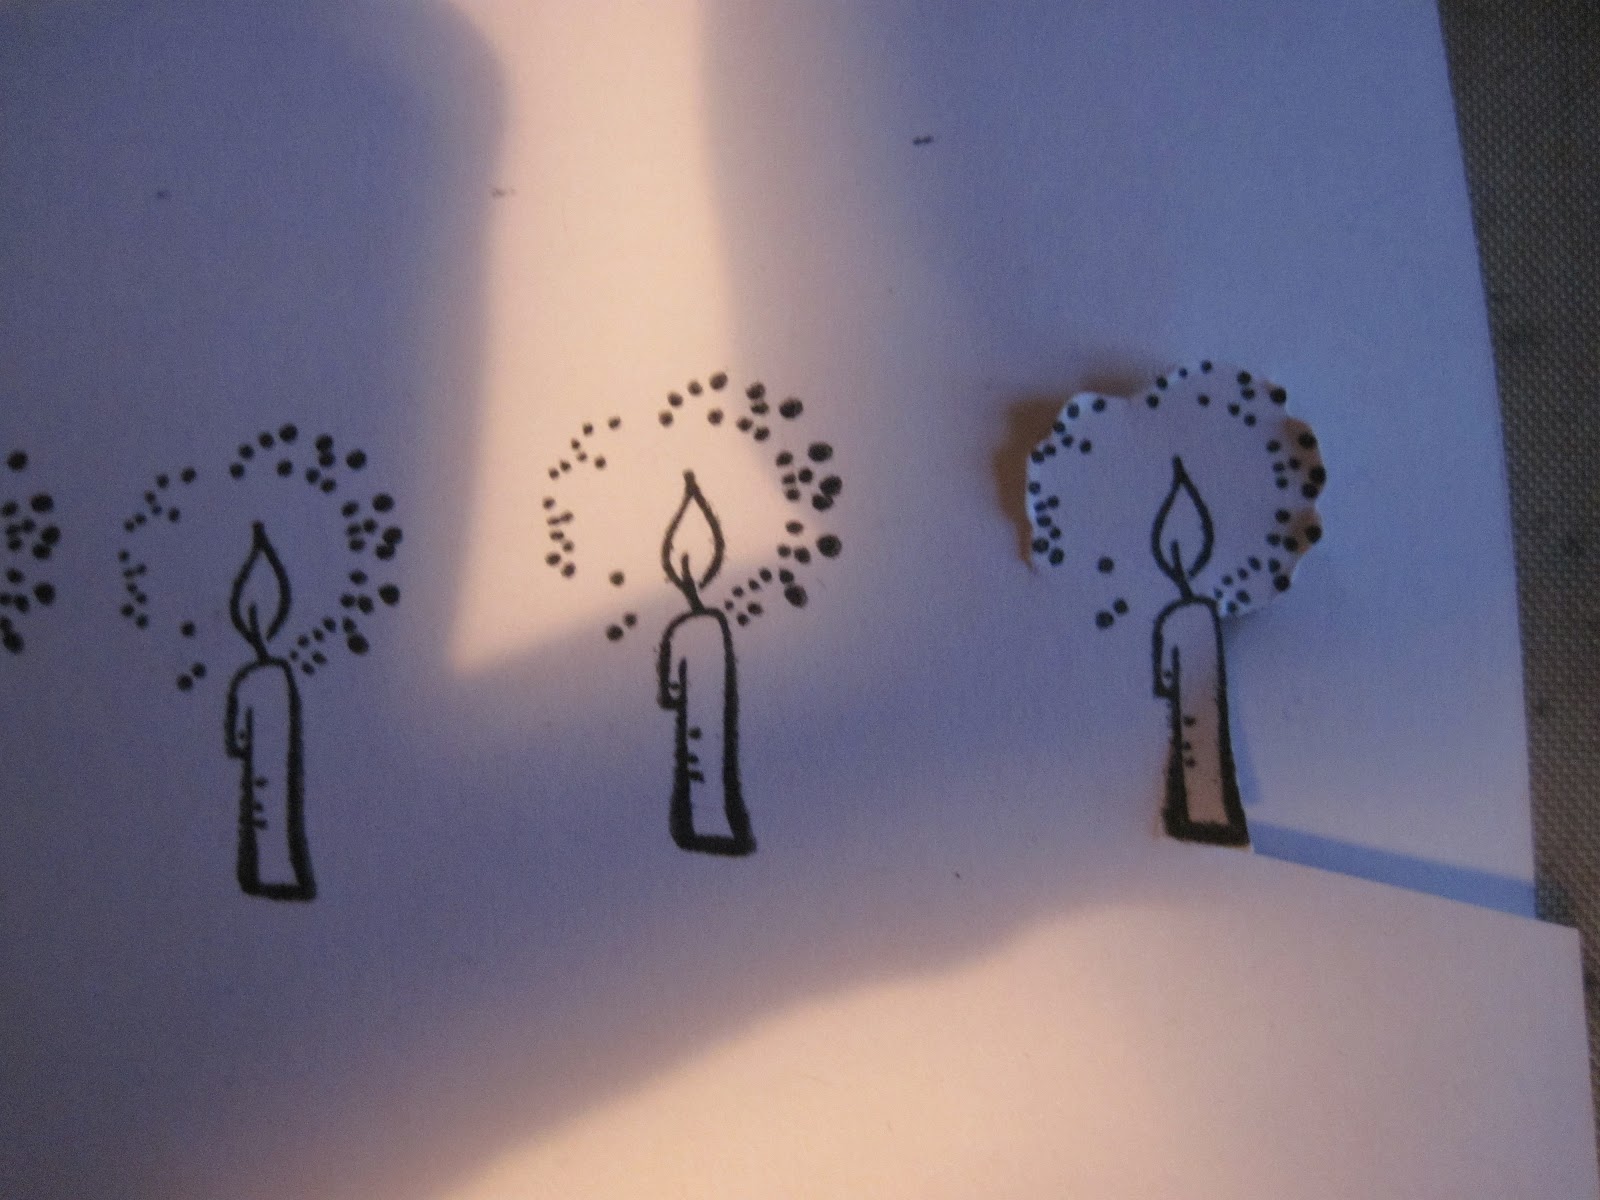
 This is also a snowflake background and I made a tag using various reds of distress inks. I stamped in black and white stãzon ink using the new seasonal minis from Tim Holtz. The tree I embellished with some self adhesive pearls. I then embossed a piece of green card stock with my cuttlebug and a seasonal embossing folder by Sizzix, distressed it with some walnut stain ink and glued everything together on the background. I did add a red and green coloured ribbon to the tag and put some pearls on them to hide the staple hahaha. But it makes it festive also. The corners were chomped so it looks more finished.
Again I used the snowflake background which started out as an experiment but I liked it so much that I used it for most of my cards this season. The tag I stamped with the Santa stamp in jet black Stãzon ink and the pine branches were stamped in green archival ink. I coloured the card with red distress ink using the ink blending tool and the edges with green. I then stamped the sentiment in embossing ink and embossed it with gold ultra fine embossing powder. Some gold coloured paper ribbon through the hole of the tag gives it a festive touch. I added a little silver Christmas tree charm and glued it all to the background and chomped it. 


Same background (again....) coloured it with walnut stain distress ink. The tag is a manilla tag I coloured red with distress ink and a blending tool.The big pine tree I die cut from grunge board and painted with crackle paint in green and brown. The tag I stamped with green archival ink using the pine tree stamp from Tim. With a white pen I drew in some fake snow. I sprayed it with perfect pearl  to give it some glow and adhered the die cut to the tag. I cut out the sentiment from the seasonal paper stash and put some crackle accents on it to age it. I put it on the tag using 3D foam to give it a bit of dimension. All was glued to the background after I put some ribbon and threads through the hole of the tag.


What a surprise.....the same snowflake background. I Die cut Frosty out of chipboard and painted it white with a paint dabber, the arms brown and the hat black with crackle paint. The white I covered with Rock Candy crackle paint and let it dry. The buttons, nose and eye I made with liquid pearls. I painted part of Frosty with Tumbled Glass distress Stain to give it more of a frosty look. Some of the snowflakes on the background I covered with glossy accents and sprinkled some glittery flakes on it. The sentiments were made with a label maker and that was basically it.

This was made the same as the one with the mini stamps only to this one I added a sentiment ticket I stamped in red and green and the toy soldier has a few liquid pearl accents.

 Same background and again I used wrapping paper and a fragment. It said Merry Christmas to you so it had to be used. The tag I coloured with blue and silver distress stains. I stamped the snowflake in jet black Stãzon ink. You can't see it in the picture but the sentiment was covered with glossy accents to make it shine.
Same procedure as some previous ones. Tag stained with distress stains, stamped in jet black and sentiment embossed with cuttlebug. However I covered the tree with distress stickles to give it some sparkle. The ends of the branches I embellished with adhesive pearls. The star at the top of the tree I coloured with gold stickles for some festive glitter. A dual coloured ribbon and a golden snowflake charm finish this project off.

 Same snowflake background but I stamped this one with dark blue distress ink with snowflakes and a snowman. The tag is stained with silver distress stain and stamped with a larger snowman and some pine twigs. The sentiment is stamped with embossing ink and embossed with Christmas red embossing powder. Some silver paper ribbon through the hole and I glued it to the rest of the card.
On the side I stamped the holly using the seasonal stamps from the Dylusional range by Dyan Reavely. I traced it with green and red stickles for some pizazz
 This is also a similar one to a previous card. Only on this one I also stamped with embossing ink on the background and dusted it with perfect pearls powder for some sheen.
 Ahhhhh, finally another project altogether right? I used a black tag #8 and die cut the festive greenery by Tim for Sizzix. I coloured it all in various colours using distress inks. The sentiment I stamped in embossing ink and dusted with several colours of perfect pearls powders. I glued the greenery on the card and the berries were made using white or red liquid pearls. The edge of the tag I dabbed with a pearl paint dabber. A ribbon through the hole and it is ready for the mail.
 This background I made by stamping the green in embossing ink and covering it with embossing powder. After cooling I coloured the whole thing with re distress ink. The icicles I die cut from white card stock and covered it with rock candy distress stickles and glued it to the card. The pine branch I also die cut from white card stock and coloured it with distress ink. The ornament I die cut using a die and a sentiment movers and shapers by Tim Holtz. I heat embossed it with gold UTEE and embellished it with various colours of liquid pearls. The sentiment ticket I stamped using two colours of archival ink and distressed it with Walnut Stain ink. I bound the twig to the ornament using a small ribbon and then glued everything together.
The background of this card is embossed using the cuttlebug and I added some colour using different colours of distress ink using the ink blending tool. I then sprayed it with perfect pearls spray. The frosty is made the same as the others. The tag was stained using red and gold distress stains. Paper ribbon, sentiment ticket and all put together.
Again a black #8 tag stamped with Dyan Reavely's Christmas stamp in clear embossing ink. Brushed with perfect pearls powder and it really pops. The berries I emphasised with red stickles. White paint on the edges and a green and red coloured ribbon through the hole makes it festive.
 On this project I was experimenting again. I stamped with a pearl paint dabber using the seasonal stamps again from Dyan Reavely. Over it I blended green and red distress ink with a blending tool. The sentiment I stamped in jet black Stãzon ink and Frosty is die cut from chipboard. Painted with white, brown and black crackle paint. The nose, buttons and eyes I made using Stickles. The edge I distressed with Sepia Archival ink as distress ink doesn't stick to Crackle paint.
 
Last but not least I share with you this card. Well from this batch anyway, as there are some more to post. This background is again the snowflake one but not so inked so the flakes are more subtle. I stamped let it snow on it to make it more winter like. The little houses and Frosty are die cut from chipboard and painted either with crackle paint (frosty) or paint dabbers by Adirondack (houses). The icicles I described earlier and also how frosty was made. The houses I drew in with a snow marker that puffs up when heated with a heat gun. It really looks like puffy snow. Glued all to the background an we have another card.

Well I hope you enjoyed looking at my Christmas projects sofar. There are a few more to come.

Happy holidays!!

Frederique


Christmas cards from last year

Good day dear readers,

I found some christmas cards from last year tht I haven´t sent yet, so I revied a few and sent them this year. The ones I made this year will be published in other posts. So here some cards from my starting period.......


The new ones will be posted soon...
 
Frederique

Birthday boy next door....again

Hello dear interestees,

I made a card for a boy next door. He is the little brother of the one I made a card for earlier in november. This card is a bit Crackle Paint gone wild....

 
The background I stamped with purple archival ink in a harlequin pattern. I then inked the whole thing in pale yellow with Distress ink. Then covered everything with Rock Candy crackle paint.
The smaller piece I inked with distress inks after I stamped and heat embossed the swirl with clear embossing powder.
Over that I painted with purple distress crackle paint and let it dry.
Then put the two pieces together with glue and added the sentiment I made with a label maker in bright red so it stands out.
The corners I cut with a Cropadile corner chomper and voila.....the card is ready.
 
The boy I made this for loved it. He rang the doorbell in the evening and brought me a chocolate Santa as a thank you.


Well until next time, I will be posting Christmas cards......
 
Frederique


Thursday, November 29, 2012

Tag for the master himself

Hello dear enthousiasts,

Well it finally happened. I made Tim Holtz a tag.... I read his blog the other day and he was clearing out the garage. He stumbled upon a collection of wooden type set letters he bought a few years ago. He decided to use the letters to revamp his craft desk. He asked in his blog if people knew where to get more of those wooden letters because not all of the table was covered.


I happen to have three of those blocks..... My initials, given to me by my mother.
So I decided to write Tim an email to ask him if he would like to have my three letters for his collection, and if so, where to send them, as they are only gathering dust in my own craft room as I only used them once to make my mum a card.
Within two hours he replied!!! I couldn't believe it. He was honoured to add them to his table and gave me his address..
So the next day I made a package and decided to send a tag with it to tell him how honoured and proud I am that a piece of me will be in his crafting studio. He is after all the reason I started making tags in the first place. My style before I heard of Tim Holtz was rather boring and not really a style.
Everything I know about crafting I learned from watching YouTube videos of Mr. Holtz. And I have two of his books, Compendium of Curiosities 1 and 2, one of them signed. (Can you tell I am a huge fan?) Well without further adue........


I put some bright colours of distress stains (by Tim Holtz) on my craft sheet. I dragged my tag through it to colour it. It created the most beautiful rainbow of colours....
I stamped it with stamps from Stampers Anonymous (by Tim Holtz) and added some mini brads ( by Tim Holtz). I added the red ribbon and a muse token (by Tim Holtz)
I misted over the whole thing with a perfect pearl mist and added a sentiment using a label maker.
(now I really wish I had better handwriting)
 
As I write this it is sinking in that my "guru" of crafting is going to see this. Still can't believe it.
 
Anyway, here also a photo of the blocks I sent him. I wonder if I will get a thank you..... I will let you know of course.
 
 
Take care and until next time!
 
Frederique